My ADA Flanger Clone
Created 01/22/23
Last updated 05/19/07
By Paul J. Marossy
Here is a picure essay of my ADA Flanger clone that I built in 2009 using a wood enclosure. I wanted to have a similar form factor to the actual unit but to make it
a little smaller, and to also not have that kinda weird tub around the controls. The PCB I used was the first one that "Moosapotamus" designed & offered to DIYstompboxes.com
members. That info on his website can be found
HERE.
It uses an MN3007 IC chip instead of the original IC chips that were used, which are
now unavailable. I made this before the ADA Flanger REISSUE was available, when you had no choice but to pay people's exhorbitant asking prices on eBay if you wanted one.
But what ISN'T exhorbitantly high priced these days?! To this day I still think this is one of my best DIY projects. It required a lot of thinking and
planning to make it all come together. I still use it to this day!

Initial completion of the enclosure is shown here. Top is 1/4" plywood and the sides are 3/16" solid wood. All purchased at the local Lowes hardware store.
I made AutoCAD DWG of everything before I did anything to make sure it was going to work, to figure out how to construct it and how the PCB would fit inside.
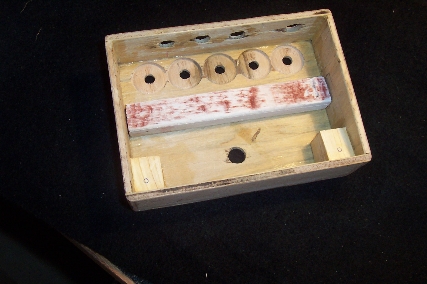
Here is the inside before anything else was done. This is far stronger than you might think. I mean if Pete Cornish makes his custom rigs
out of wood, it's also good enought for me.
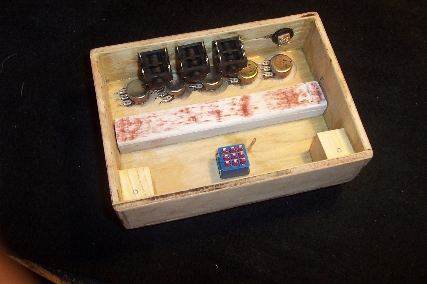
Here I am test fitting the jacks and pots to see if I had any problems. Everything just barely fit in there.
Here I am getting an idea of how it's going to look.
Here I am figuring out exactly how that PCB needs to be inside the enclosure. It was a tight fit! I wanted to have the PCB oriented a
certain way - upside down as compared to real one. That is because in the real ADA Flanger, it is a P.I.T.A. to adjust the trimpots because you have to
dismantle the whole thing to get to them.
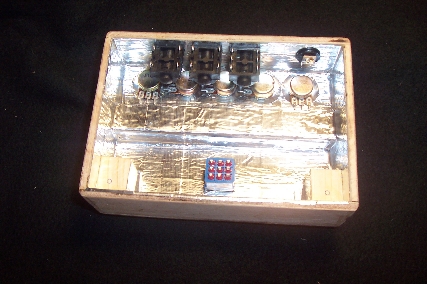
The next step was shielding the entire inside of the enclosure. I used "aluminum repair tape" for that. It's kind of like duct tape made
out of aluminum. You could also use copper shielding if you have some lying around.
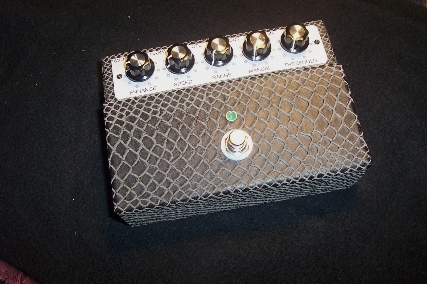
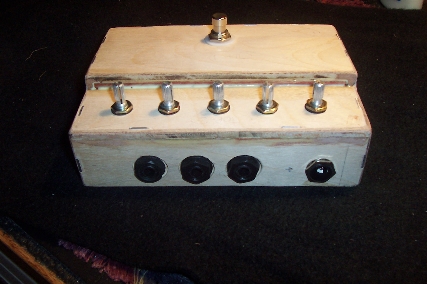
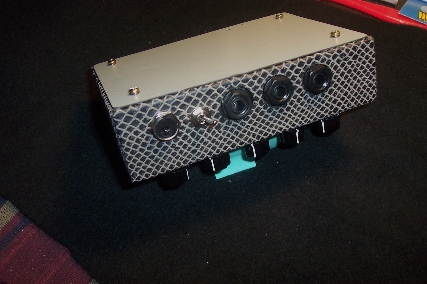
Here I have covered the enclosure with a faux alligator skin fabric. This has the RadioShack knobs that I would normally use on most of
my projects. I eventually put white knobs on it. Graphics panel was also made using AutoCAD.
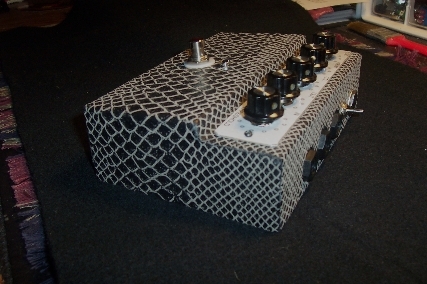
I really like this form factor better... smaller and I think it just looks better.
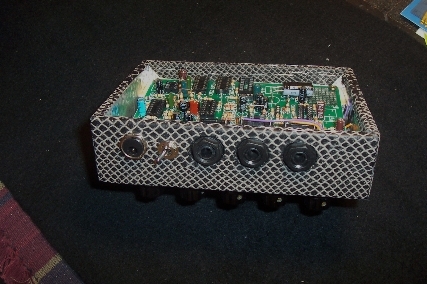
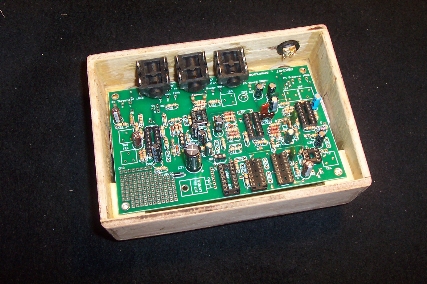
At this point I had all of the wiring done and the PCB fastened securely in place using two small wood screws.
Next I had to make a bottom cover for it. I used the bottom of an old TV antenna. It was steel and almost the perfect size for the job.
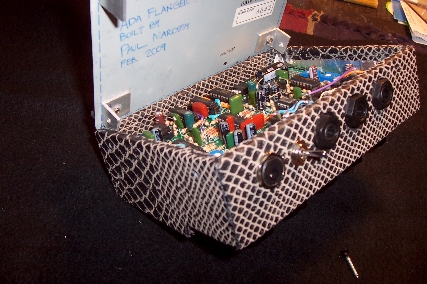
This is showing the method of attachment for the bottom cover. Four screws thru the two sides of the enclosure keep it in place.
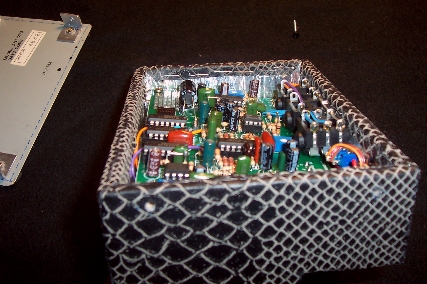
Here you can see how tight eveything is inside that enclosure!
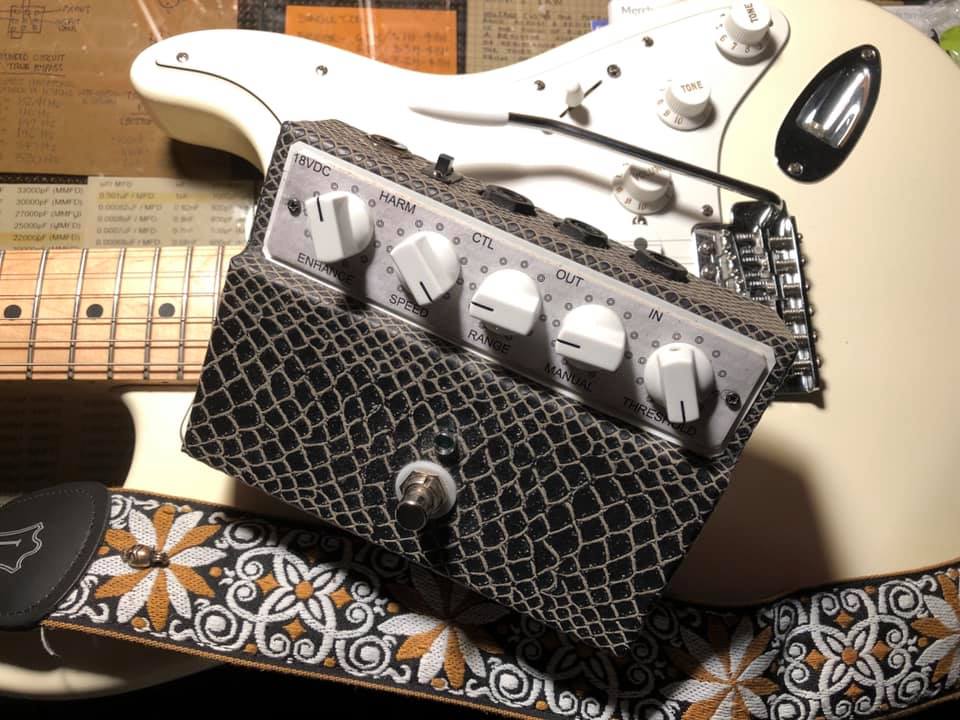
Here it is in its final form.